How to Print Business Cards at Home or Online
9 minutes
13th of November 2026
In this article:
- Which method is right for your card print job?
- What size should business cards be?
- What should a card contain before you print it?
- How do you design a card that prints cleanly?
- How do you print business cards at home?
- How do you order business cards online?
- Which paper stock and finish work best?
- Why do printed cards fall short at trade shows?
- How can a QR code on your printed card replace reprints?
- How should a trade show team prepare cards before an event?
- What are common card print mistakes to avoid?
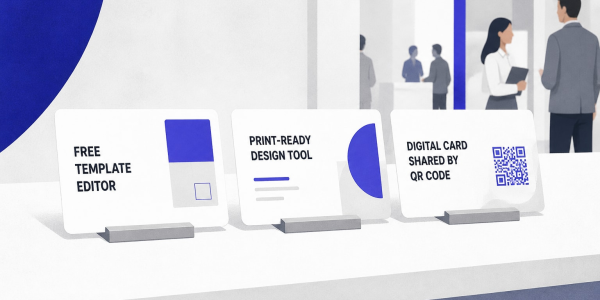
A card print job comes down to two routes: print at home on a desktop printer with perforated sheets, or upload a finished design to an online print service and have a professional batch delivered. Home printing suits small, urgent runs, while online printing delivers cleaner finishes and lower cost per card at volume. This guide covers sizes, files, paper, a step-by-step process for each route, and how to prepare cards for a trade show.
Which method is right for your card print job?
Home printing wins on speed and flexibility, and online printing tends to win on quality and unit cost once you need a larger batch. The right choice depends on quantity, deadline and how polished the result must look at a booth.
| Factor | Print at home | Print online |
|---|---|---|
| Best quantity | Small runs | Larger batches |
| Turnaround | Same day | Varies by provider |
| Finish quality | Depends on printer and paper | Consistent, trimmed edges, premium stocks |
| Cost per card | Higher at volume (ink, sheets) | Lower at volume |
| Edits after printing | Reprint immediately | Requires a new order |
For a sales or event team, the deciding factor is usually the schedule. If a trade show starts in three days and a colleague's title just changed, a home printer can rescue the situation. If the whole team needs matching cards for a fair next month, an online order is the better plan.
What size should business cards be?
A common U.S. business card size is 3.5 × 2 inches (88.9 × 50.8 mm), according to Adobe. Adobe also lists 55 × 85 mm as a common business card size for Europe and other regions, which matters if your team prints for several markets.
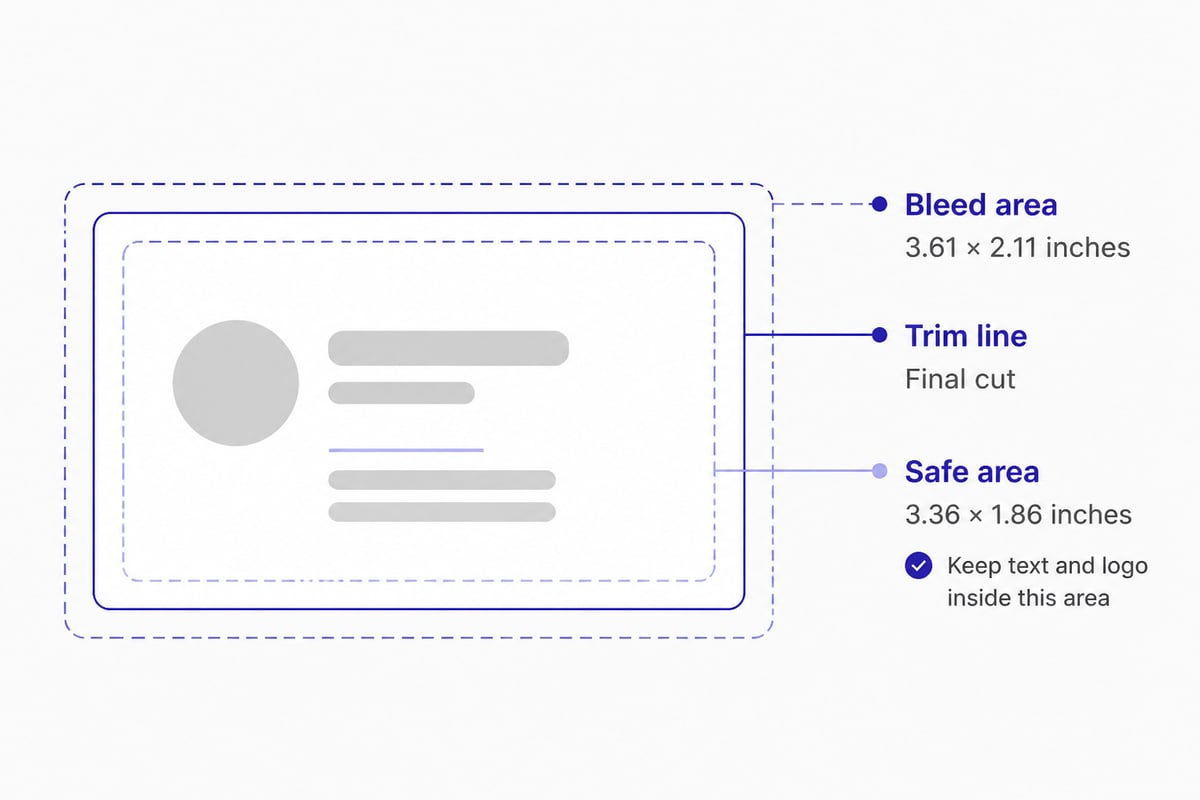
Artwork needs extra room beyond the trim line. For a standard U.S. card, VistaPrint specifies a full-bleed artwork size of 3.61 × 2.11 inches and a safe area of 3.36 × 1.86 inches, and it advises checking the specific product template because requirements vary. Three terms are worth knowing:
- Bleed: background color or imagery that extends past the trim edge so no white slivers appear after cutting.
- Trim line: the final cut size of the card.
- Safe area: the inner zone where logos, names and text stay clear of the cutting tolerance.
Keep all essential text inside the safe area. Anything placed near the edge risks being clipped.
What should a card contain before you print it?
A card needs only the details a prospect will act on, because every extra line shrinks the type and slows reading. For trade show teams, that means a short, deliberate list:
- Full name and job title
- Company name and logo
- Direct phone number and email address
- Website or a QR code leading to a profile or landing page
- Optionally, a LinkedIn address or office location
Leave out fax numbers, long mission statements and secondary phone lines. A clean layout with generous white space reads as confident, and it prints more reliably on a desktop device.
If your team works across several countries, check that phone numbers include the international dialing prefix. A prospect who meets you in Munich and calls from Lisbon should not have to guess the country code. The related guide on international business card conventions covers formatting differences in more depth.
How do you design a card that prints cleanly?
Design the card in a layout tool, export it at the right resolution, and respect the printer's limits. Follow these steps:
- Start from a template sized for your target format. A business card template saves setup time and builds in the correct margins.
- Add brand elements: logo, brand colors and corporate fonts. Use vector logos where possible so edges stay sharp.
- Set type sizes at 8 pt or larger for contact details. Smaller text blurs on uncoated stock.
- Place the QR code with enough room. VistaPrint recommends a minimum QR-code size of 0.8 × 0.8 inches and advises testing the printed code on multiple phones and under different lighting conditions, which is sensible advice for a booth with spotlights.
- Export at 300 dpi as a print-ready PDF with bleed, or as a high-resolution file if the provider asks for it.
- Proof carefully. Check spelling of names, digits in phone numbers and the destination of every link.
For layout inspiration, the card design and modern business card ideas articles show what current styles look like without sacrificing readability.
How do you print business cards at home?
Printing at home takes a printer, perforated card stock and about twenty minutes of setup. The process is the same whether you use an inkjet or a laser device.
- Choose the paper. Pre-cut micro-perforated sheets (typically ten cards per sheet) give clean edges after tearing. Heavier stock, around 250 to 300 gsm, feels more professional than standard office paper. Match the stock to your printer type: inkjet-specific or laser-specific sheets, because laser heat can damage the wrong coating.
- Load the template. Most sheet manufacturers supply a template for common software. Use it so each card lands exactly inside its perforations.
- Print a test on plain paper. Hold it behind a card sheet against a window to check alignment.
- Adjust settings. Select the best-quality print mode and the correct paper type, and turn off "fit to page" scaling.
- Print on the card stock. Let ink dry for several minutes before handling, particularly on glossy sheets.
- Separate the cards by folding and tearing along the perforations in both directions.
Home printing has real limits. Edge-to-edge color is rarely possible on desktop devices, ink costs add up, and double-sided runs risk misalignment. If your design depends on a full-bleed background, plan for an online service instead. The article on free business card printing explains where no-cost offers fit and where they fall short.
How do you order business cards online?
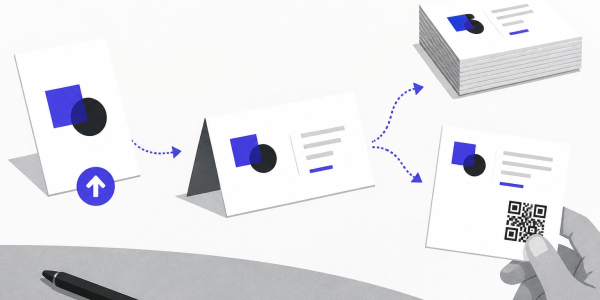
Ordering online means uploading a finished design, selecting a stock and finish, approving a proof and waiting for delivery. The steps are consistent across most providers:
- Pick a product and size that matches your market, and download the provider's template.
- Upload print-ready artwork with bleed and the safe area respected.
- Select paper stock and finish. Matte feels modern, gloss makes photography pop, and soft-touch coatings add a premium feel at a higher price.
- Review the digital proof. Confirm that nothing is cropped and that the QR code sits well within the safe area.
- Choose quantity and delivery date. Compare a standard turnaround against express options before a fixed event date.
- Place the order and keep the confirmation. Request a physical sample first if brand color accuracy matters.
Providers differ in what they offer and how quickly they ship, so check each provider's own product page for current sizes, prices and turnaround before you commit.
Which paper stock and finish work best?
Heavier, uncoated or lightly coated stock suits many professional situations, and finish choice should follow how the card will be used. A card that gets scribbled on at a booth needs a writable surface, so glossy coatings are a poor fit. A card handed over in a formal meeting can carry a richer finish.
- Uncoated or matte: easy to write on, subtle look, and forgiving of small printing flaws.
- Gloss: vivid color, best for image-led designs, but it shows fingerprints.
- Soft-touch: velvety feel that signals quality, at higher cost.
- Textured or recycled: conveys a sustainability message, though fine type can lose sharpness.
Weight matters as much as finish. Thin stock can bend in a pocket and feel forgettable. Aim for a sturdy card that still fits inside a standard cardholder.
Why do printed cards fall short at trade shows?
A printed card is a good handshake accessory, but it creates three problems for a team that has to follow up fast: details go stale, contacts are typed by hand later, and context from the conversation is lost.
Consider the sequence after a busy fair day. A rep collects forty cards, scribbles a note on a few of them, and returns to the office. Someone then has to key names into the CRM, and the notes about budget or timing are often incomplete by then. Printed cards also freeze information at the moment of printing, so a changed job title or phone number means a new run.
Teams tend to hit these friction points:
- Running out of cards on day one of a multi-day event
- Reprinting after a department or role change
- Manual data entry that delays follow-up by days
- No record of who received a card
None of this makes printed cards useless. It means they work best as one touchpoint among several, paired with something that captures the lead digitally.
How can a QR code on your printed card replace reprints?
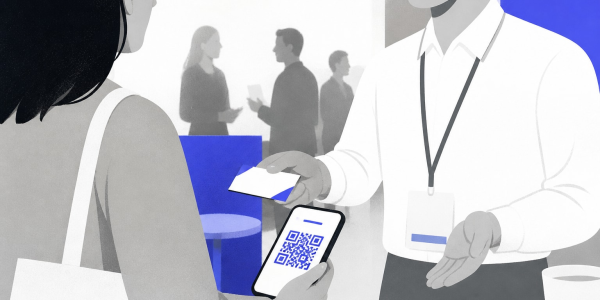
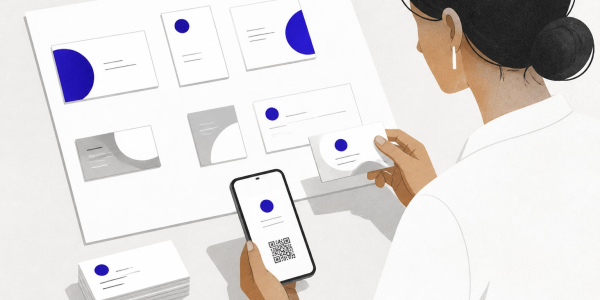
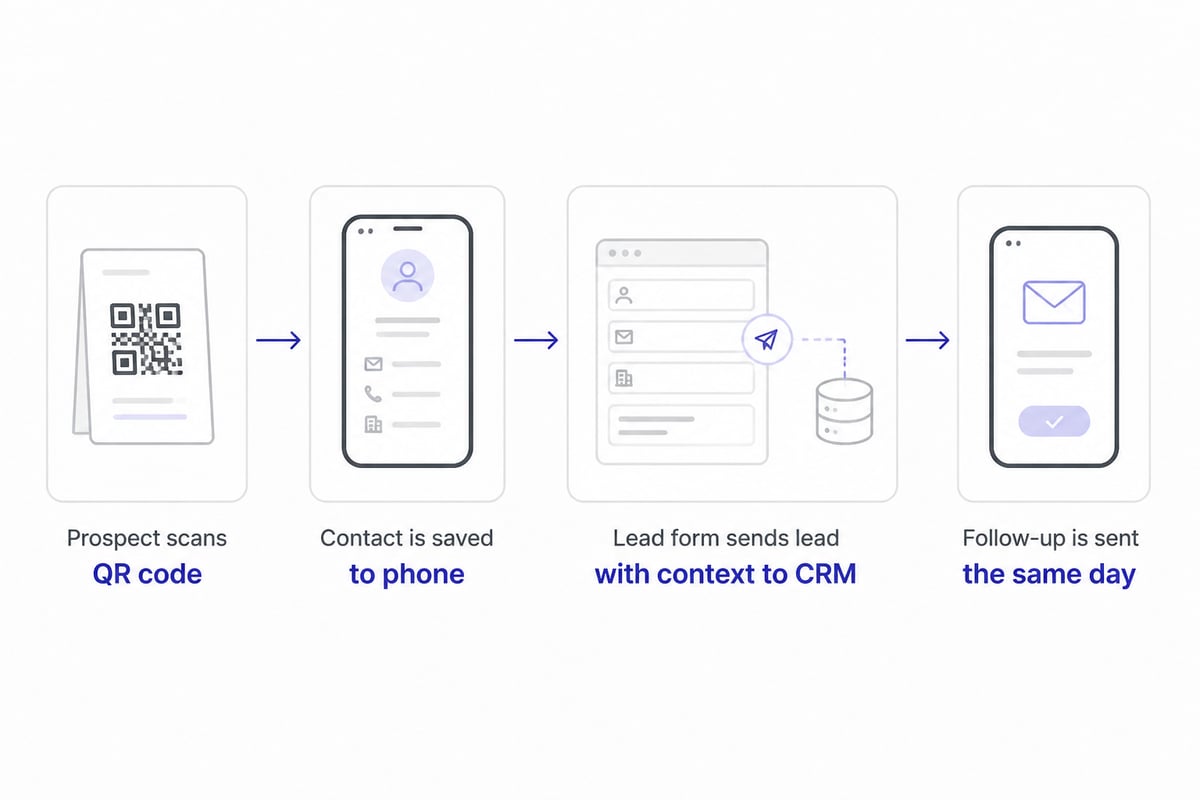
A QR code on a printed card can point to a profile that you update at any time, so the paper stays valid even when your details change. Instead of printing a phone number that may be outdated in six months, you print one code that leads to a live page.
Spreadly works on this principle: contact details stay current through one link and QR code, so you avoid reprints after a job or number change, and contacts can be saved to a phone quickly without typing. For a team that wants to pair that code with a physical item, a Spreadly NFC card lets a prospect tap a phone and receive the same live profile. Lead capture sends each lead with its context straight to your CRM, which removes the keying step that slows trade show follow-up. Spreadly is trusted by 250,000+ professionals worldwide and holds a 4.8/5 rating based on 1,100+ reviews.
For individuals who simply want to test the idea before committing a team to it, the Free Digital Business Card can be shared by QR code, Apple Wallet, Google Wallet or a link, and updates appear in real time.
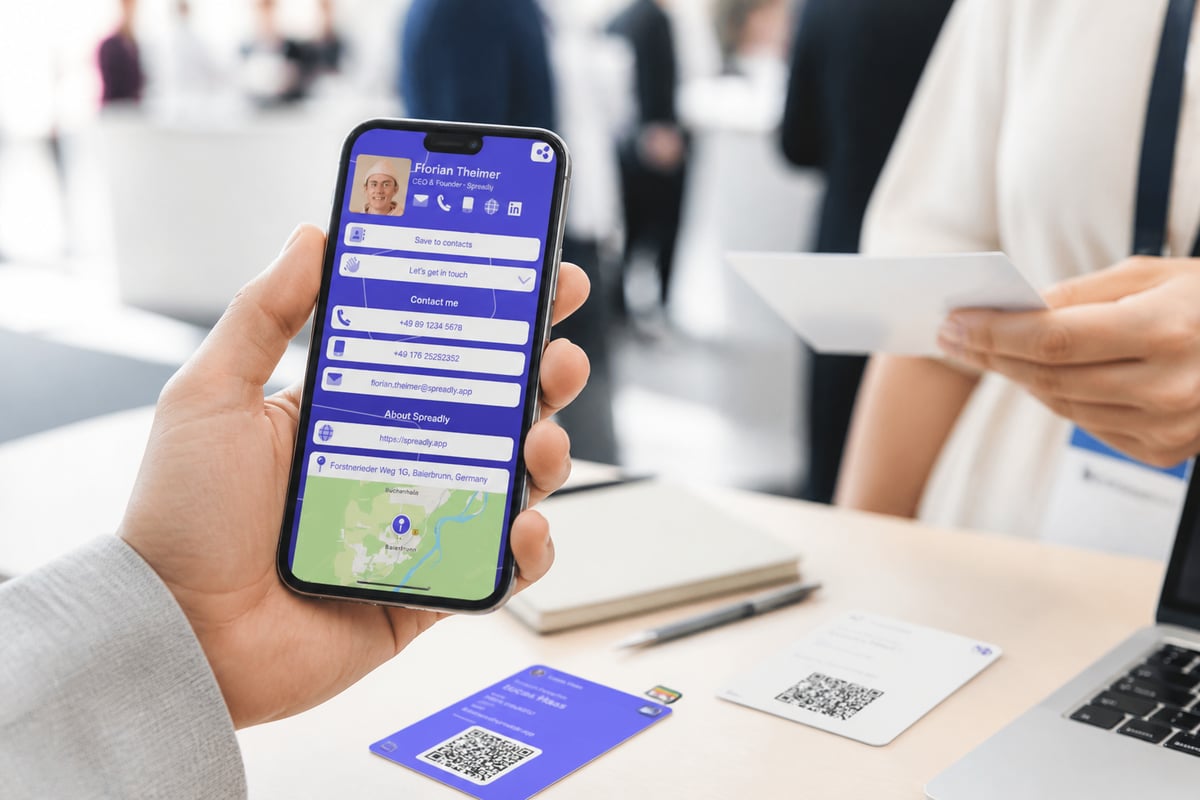
A short process makes the printed-plus-digital approach reliable. First, design the card with a clearly sized QR code. Second, print a test sheet and scan it on two or three phones. Third, check that the code still works under bright booth lighting. Finally, confirm the destination page loads quickly on a mobile connection, since conference Wi-Fi is often unreliable.
How should a trade show team prepare cards before an event?
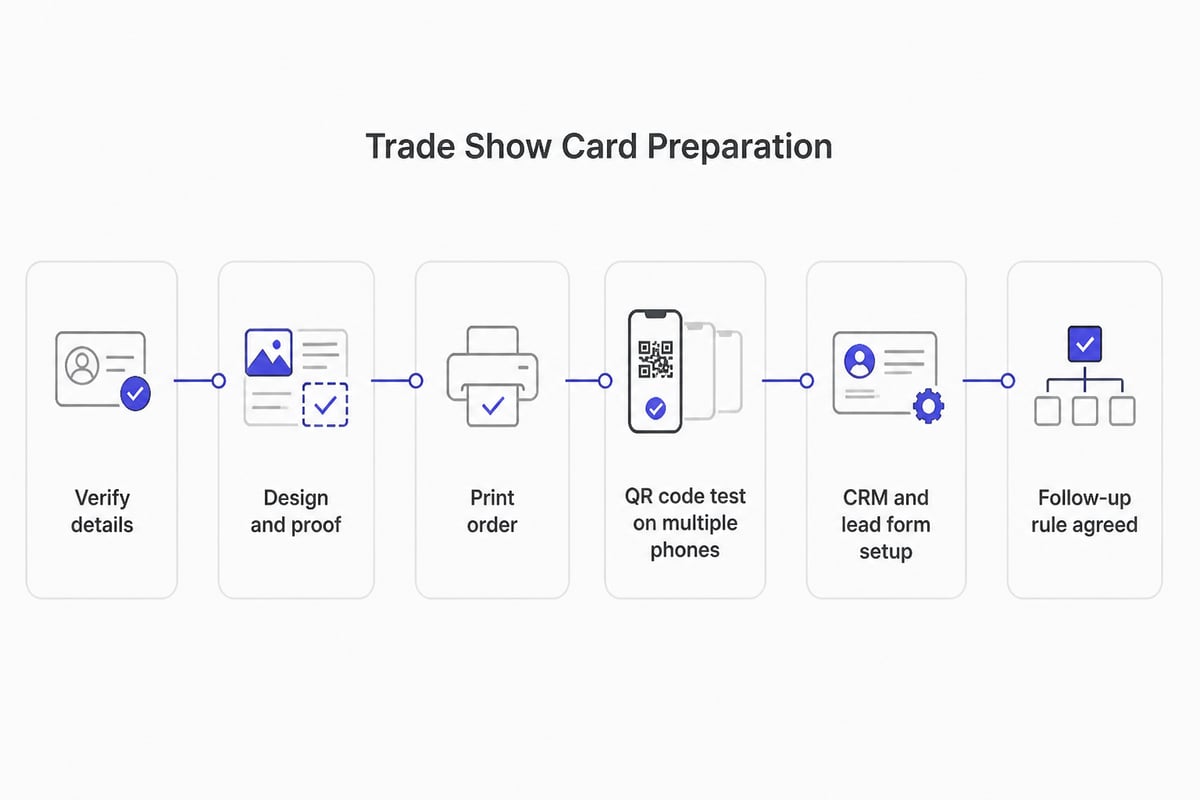
Preparation should start at least two weeks before the show, because printing, proofing and delivery all take time. Use this checklist:
- Confirm the list of attendees and verify every name, title and number before the file goes to print.
- Decide the quantity. Estimate conversations per day, then add a buffer. Running short mid-event is more costly than a few leftover cards.
- Order one extra proof if brand colors are strict.
- Test every QR code on printed output, not only on screen.
- Prepare the digital side. Set up profiles, lead forms and CRM sync before travel so that scanned contacts land in the right pipeline from the first conversation.
- Agree a follow-up rule, such as sending a message within 24 hours, so the leads collected do not cool.
Teams that manage many people can look at automatically creating business cards at scale, which describes how HR data can generate consistent cards for everyone.
What are common card print mistakes to avoid?
Most printing problems trace back to a handful of avoidable errors. Check this list before you hit print or submit an order:
- Low-resolution logos that look soft on paper. Always use vector files or images at 300 dpi.
- Text inside the bleed zone, which risks being trimmed away.
- A QR code that is too small or too low in contrast. Stay at or above the 0.8-inch minimum cited earlier.
- Skipping the proof, which lets typos reach hundreds of cards.
- Mixing color modes. Screens use RGB, while print uses CMYK, so colors can shift. Convert the file and preview it before sending.
- Overcrowding the layout with every possible contact channel.
A final habit pays off: print one card, hold it at arm's length, and read it as a stranger would. If your name, role and next step are clear within three seconds, the design is ready.